
Artificial
 PullSec
Artificial was a really interesting one. At first glance, it looked like a simple web application, but the use of TensorFlow models immediately caught my attention. I hadn’t worked much with machine learning attack surfaces before, so digging into model deserialization vulnerabilities was both challenging and rewarding. Reproducing the environment locally with Docker helped me understand the behavior much better, and it felt great to turn that into a working RCE. Overall, this box was a solid reminder that modern technologies often introduce new and less obvious attack vectors.
About
Artificial Artificial is an easy Linux-based machine available on the Hack The Box platform, designed as a great starting point for those new to penetration testing in a controlled and legal environment. This write-up details my full process of compromising the machine, from the initial foothold to achieving full root access.
The goal of this post is twofold: first, to clearly explain each technical step I took — including enumeration, vulnerability exploitation, and privilege escalation — and second, to share the tools, techniques, and thought processes behind each action. Every stage is accompanied by strategic reasoning to illustrate not only how the steps were executed but also why certain approaches were chosen.
Reconnaissance
Nmap Scan
| |
Web Enumeration
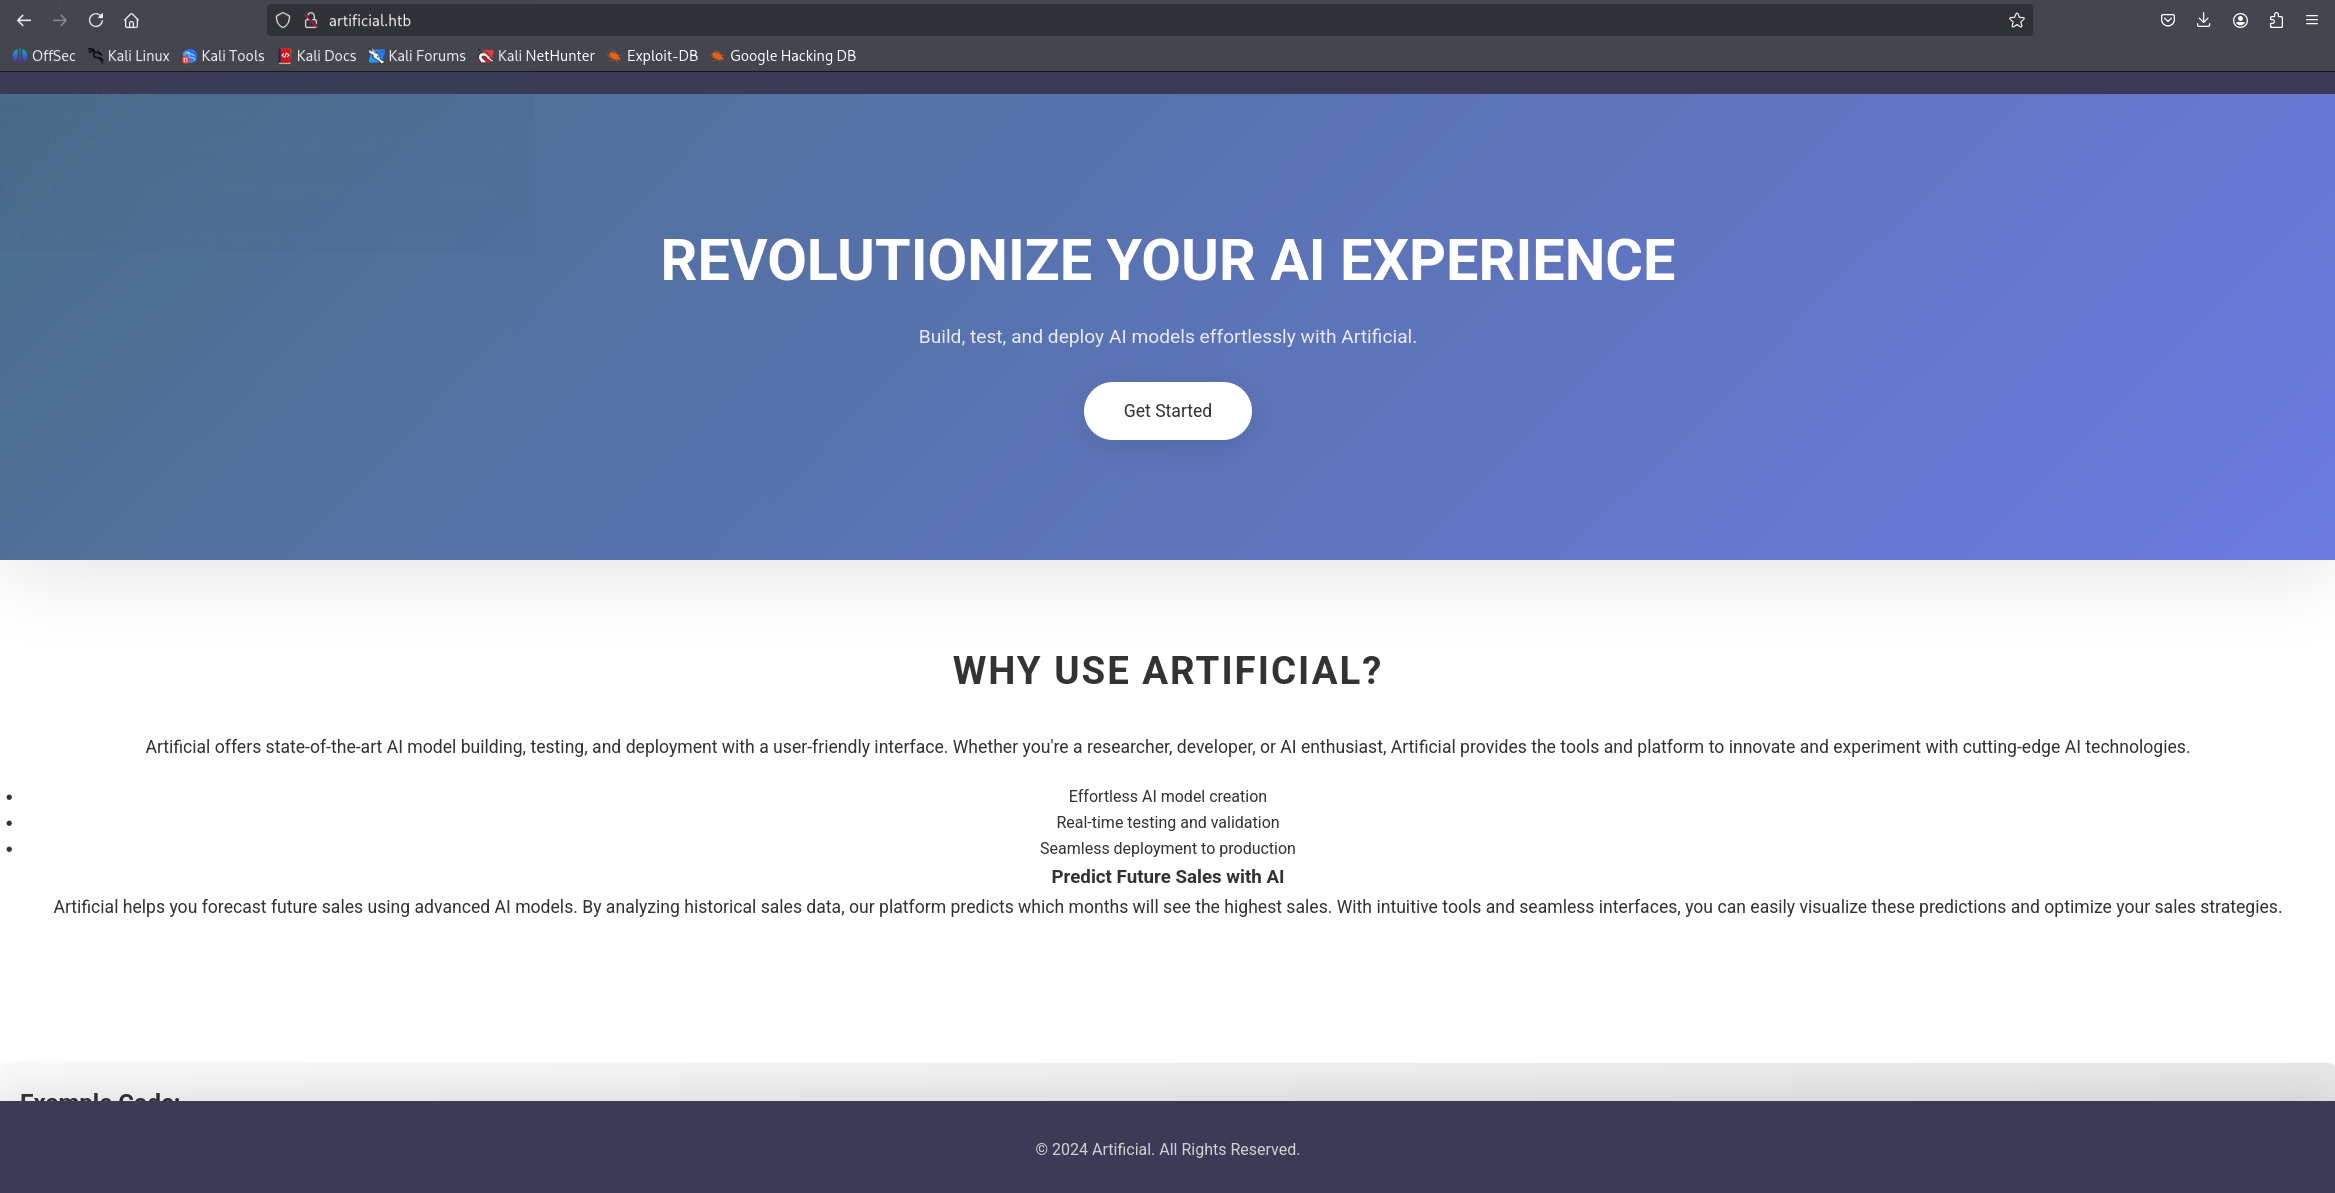
The HTTP service presents a webpage titled “Artificial - AI Solutions”, served by nginx on Ubuntu. I immediately browsed to:
http://artificial.htb/
Registration & Login
The landing page featured minimal public content, but I noticed a “Get Started” button in the top navigation bar — indicating a custom or semi-custom web application with authentication functionality.
I created an account using a basic email and password combo (e.g., test@test.com / test1234). The registration process succeeded, and I was redirected to a dashboard after logging in.
This confirmed that the application allows user interaction and may expose functionalities based on user roles or privileges.
While exploring the authenticated interface, I found that users had access to both a requirements.txt (tensorflow-cpu==2.13.1)and a Dockerfile for building their AI models locally. This strongly hinted that the uploaded .h5 models would be executed in a matching environment server-side — possibly via insecure deserialization.
| |
Environment Setup
Tip
I recommend testing your .h5 payload locally before uploading it to avoid wasting submission attempts.
The platform explicitly recommended using the provided Dockerfile to build a compatible environment for model development and testing — stating that failure to do so might prevent payloads from working correctly (“you might not get a callback otherwise”).
Following this advice, I used the Dockerfile to build a local container image
| |
Vulnerability Identification
Warning
TensorFlow deserialization flaws are frequently patched in later releases. Always check the target’s TensorFlow version to confirm exploitability.
After building the local environment, I began investigating how .h5 models might be interpreted server-side. Since TensorFlow is known to deserialize models during loading, I looked into past vulnerabilities related to unsafe model handling.
After some research, I discovered an excellent blog post describing a TensorFlow RCE with Malicious Model – Splint’s Cyberblog
The technique involves abusing the internal structure of a Keras model file to inject arbitrary Python code that will be executed during deserialization. This matched perfectly with the server’s behavior and the Docker environment I previously built.
| |
To run my malicious Python script that generates the .h5 payload, I needed the container to have access to my local script files. I achieved this by mounting my working directory into the Docker container using the -v option. This way, any file created inside the container is also saved on my host machine.
| |
Inside the container, I navigated to the /code directory (the mounted folder) and executed my script The script generated a malicious .h5 file inside /code, because of the volume mount, the file was immediately available on my host system for upload.
| |
Exploitation
Warning
If your listener (nc -lvnp) isn’t active when the server loads the model, the exploit will fail silently.
With the malicious .h5 file ready, I returned to the target web application. I uploaded the file through the “Your Models” dashboard on the site. After uploading, I clicked on View Predictions, which triggered the server to load and process the model.
Due to the malicious payload embedded in the .h5 model (specifically crafted to exploit TensorFlow’s deserialization), the server executed arbitrary code. As a result, I received a reverse shell connection on my machine using nc.
This confirmed a Remote Code Execution vulnerability via the model upload feature.
| |
Post-Exploitation
While exploring the /home directory, I noticed a suspicious file located at /home/app/instance/users.db. This file immediately caught my attention because .db files typically indicate a database, often used to store user information or application data.
Such files can be crucial during a penetration test, as they may contain usernames, password hashes, or other sensitive data. Identifying and analyzing these files can provide valuable insights for privilege escalation or further exploitation.
In this case, users.db is likely a SQLite database holding user credentials or configuration details related to the application, making it a prime target for further investigation.
| |
Note
SQLite databases in web applications often store sensitive data without encryption, especially in development environments.
After discovering the users.db file, I used the sqlite3 command-line tool to inspect its contents:
| |
After extracting the password hashes from the users.db database, I saved one of them into a file named hash.txt:
| |
John successfully cracked the hash quickly, revealing the password. This step is crucial as it allows gaining credentials that can be used for further access or privilege escalation within the target system.
Using the cracked password, I was able to establish an SSH connection to the machine
| |
When prompted, I entered the password and successfully logged in as the user gael. This provided me with a more stable shell and expanded my ability to explore the system for further privilege escalation opportunities.
| |
Privilege Escalation
After gaining a shell as the user gael, running id shows that gael belongs to the group sysadm
| |
This group membership hints that gael might have access to files owned by the sysadm group. To discover these files, we can search the system for files belonging to this group
| |
This reveals a large backup archive located in /var/backups/, readable by the sysadm group. Such backup files can contain sensitive data like configuration files, databases, or credentials, making /var/backups/ and similar directories like /opt/ prime locations to investigate further during privilege escalation.
After identifying the backup file /var/backups/backrest_backup.tar.gz accessible by the sysadm group, I proceeded to extract its contents to investigate further:
| |
After downloading the backrest_backup.tar.gz archive from the target machine, I extracted it locally to inspect its contents. During this investigation, I found a particularly interesting file at the path .config/backrest/config.json containing configuration data, including authentication details:
This configuration revealed a user backrest_root with a bcrypt hashed password, which could be useful for privilege escalation or further exploitation.
Although the password hash appeared to be bcrypt-encoded, it was first base64 encoded. After decoding it once with base64, the resulting bcrypt hash was saved into hash.txt:
| |
Using john with the appropriate bcrypt format and the rockyou wordlist, the password was successfully cracked:
| |
Discovering and forwarding an internal service port
On the target machine, checking listening ports revealed a service running on localhost port 9898:
| |
To access this internal service from the attacker machine, an SSH tunnel was established forwarding local port 9898 to the target’s localhost 9898:
Caution
Exposing internal services via SSH tunneling could be noisy in production environments. Use it carefully during red teaming.
| |
This allowed interaction with the internal service via localhost:9898 on the attacker machine.
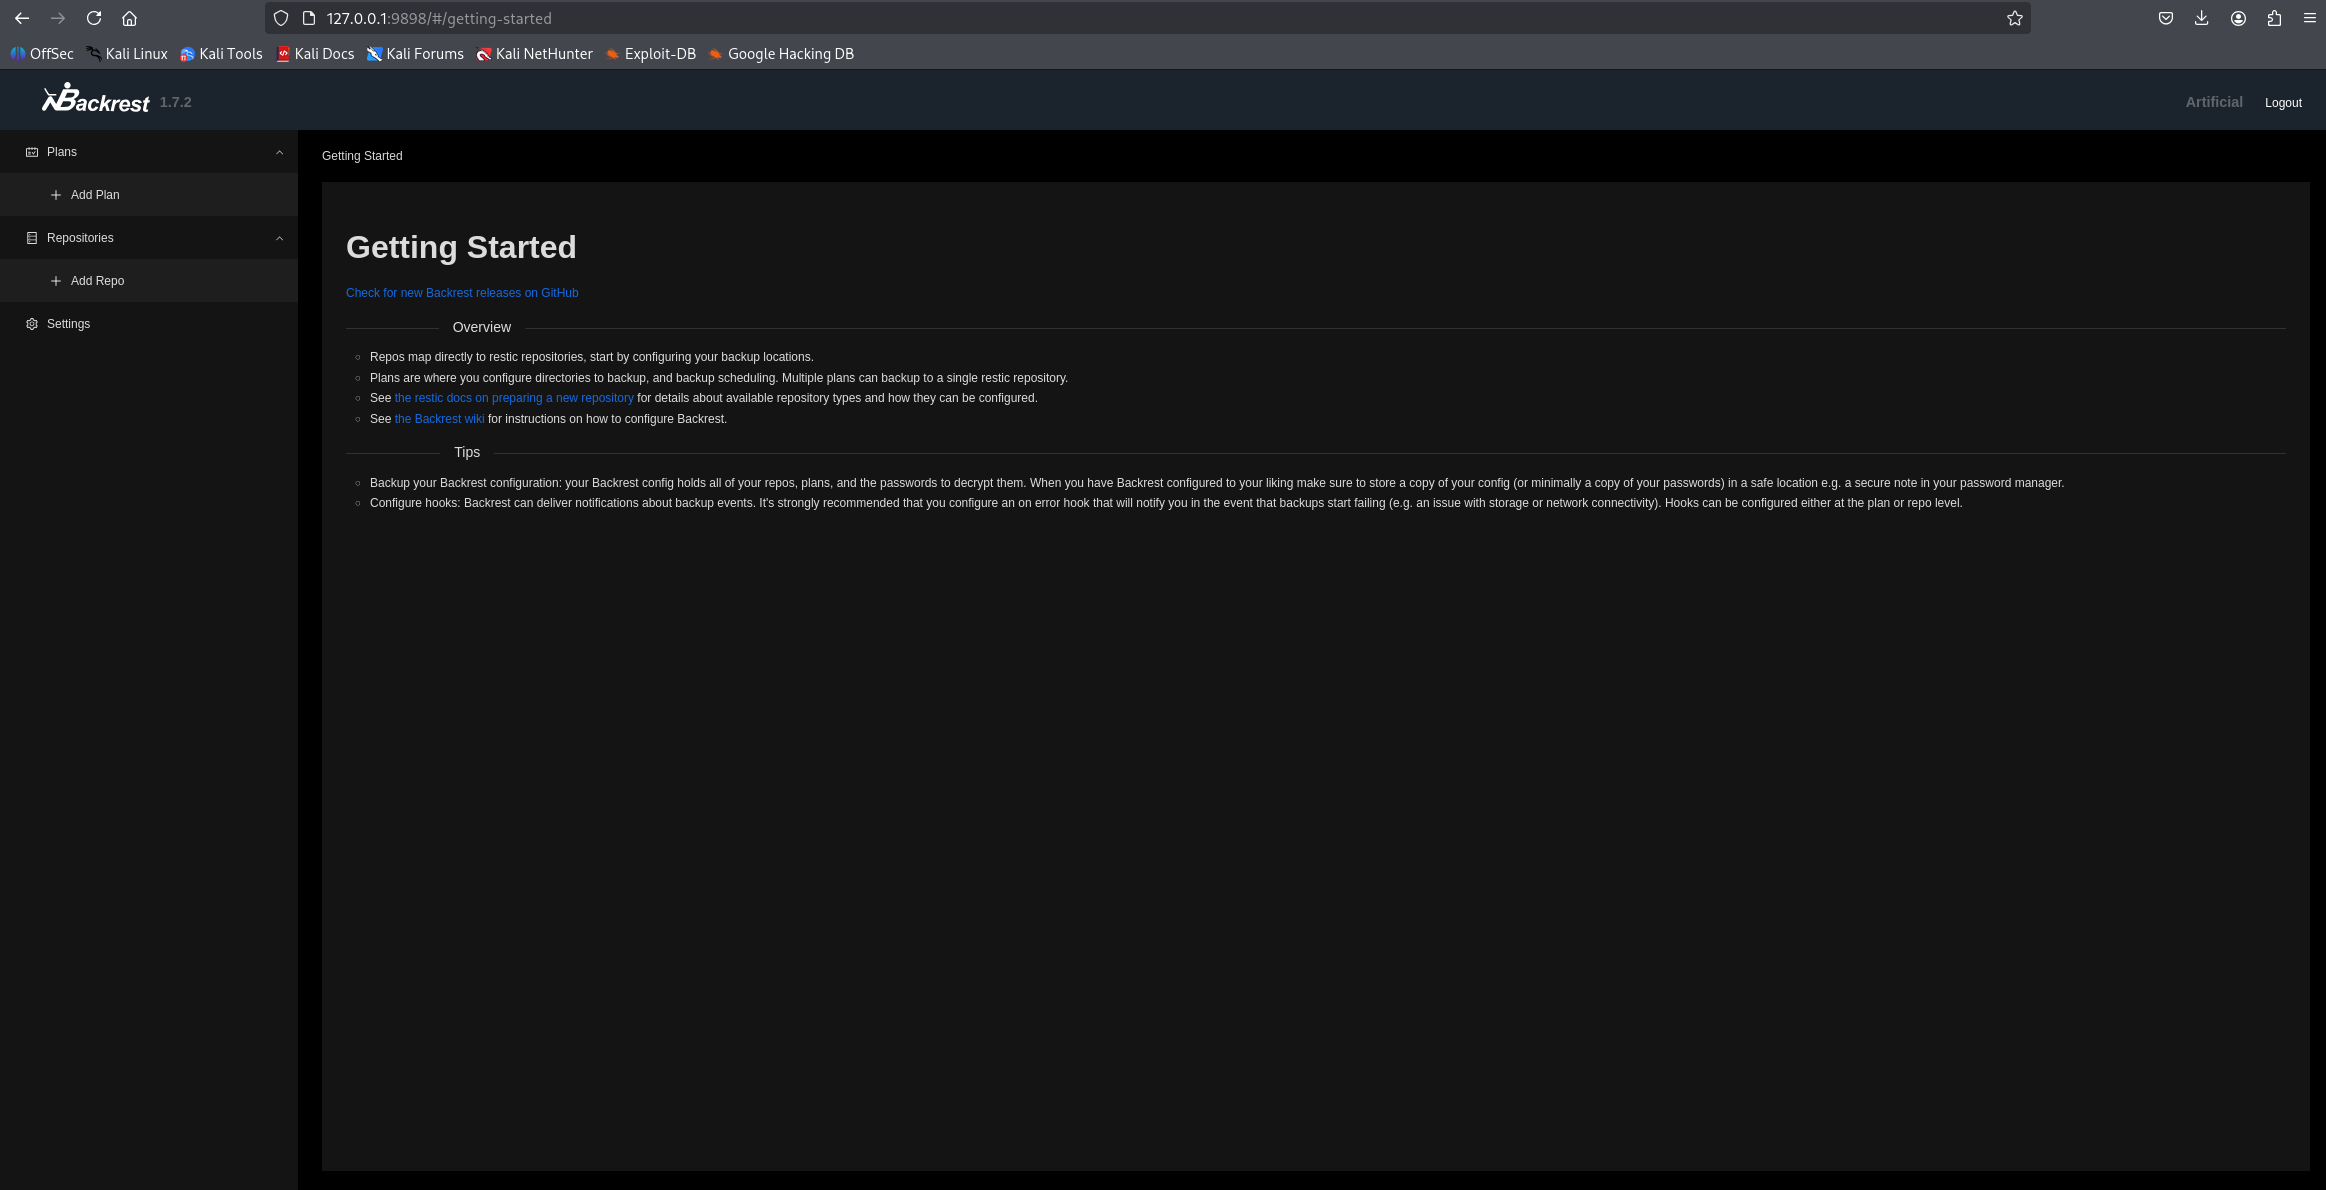
To start using Backrest, you first need to create a repository where your backups will be stored. To do this, log in to the Backrest interface with your credentials, then click on Add Repository. You’ll need to fill in a few key details: a repository name to identify it (for example, mybucket), the repository URL, which is the local or remote path where the backups will be saved (for example, /opt for a local folder), and a password if needed, especially for secured backends. Once you have entered this information, simply submit the form to create the repository, which will then be ready to store your backups.
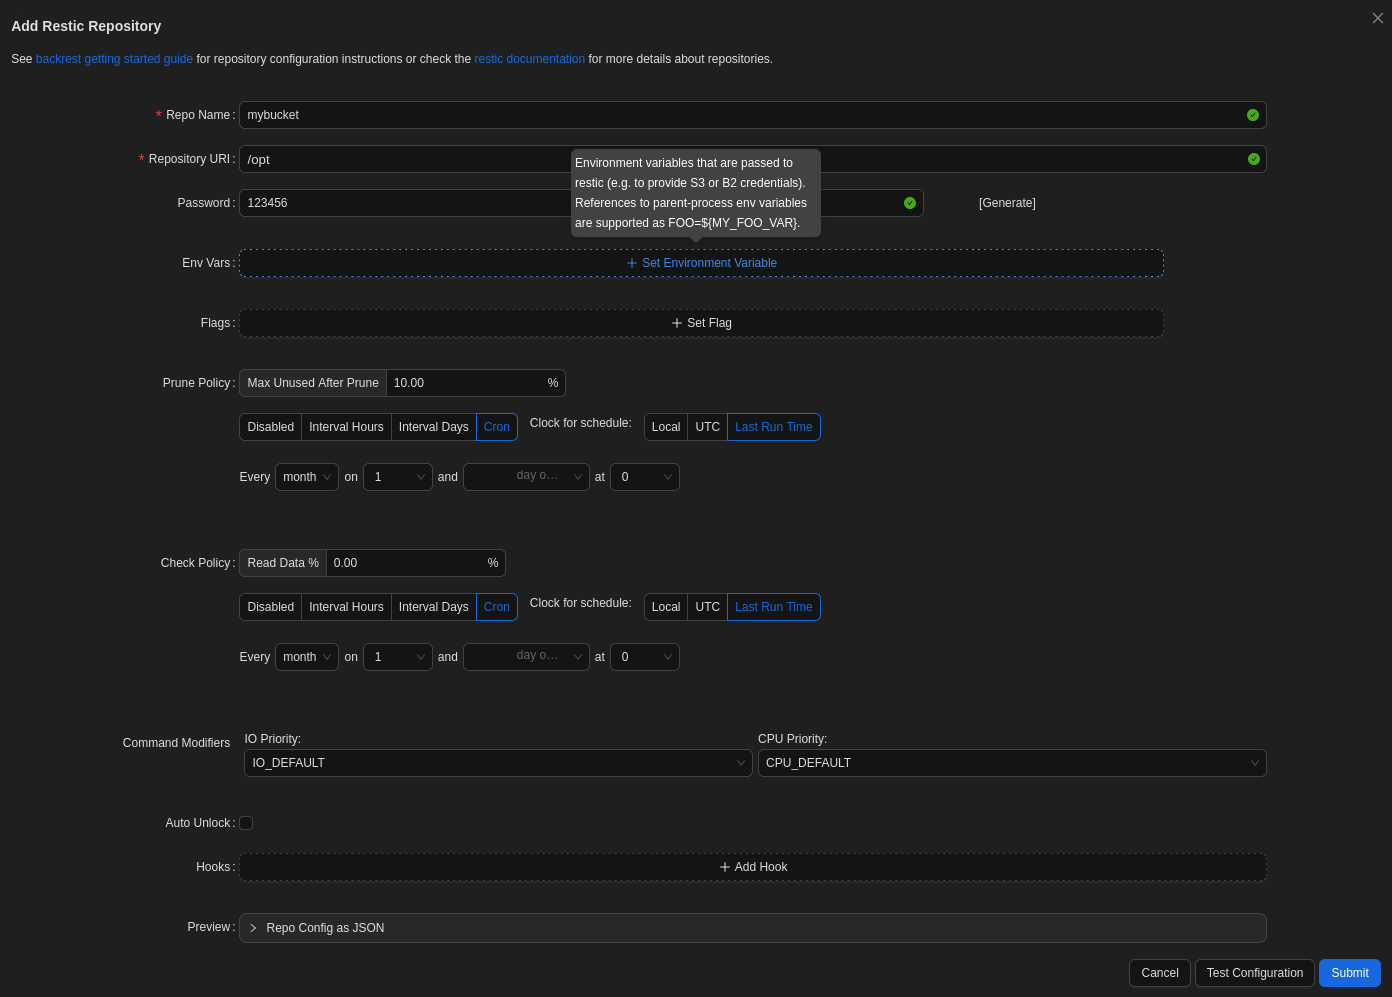
Once you’ve created a repository via the Backrest interface (or manually using Restic), you can leverage rest-server to remotely back up and restore sensitive data. On your Kali box, start the rest-server to host the remote Restic repository:
| |
Now that the server is live, we switch to the target system. Assuming Restic is installed (either manually or via Backrest), we can initialize a new repository pointing to the attacker’s server:
| |
Restic will prompt for a password, which can be something simple like 123456 if you’re just testing. After initialization, the repository is ready to receive backups.
Once the repository is ready, we can send critical data to it. For example, backing up the entire /root directory is simple:
| |
This command uploads all contents of /root to the remote repository on the attacker’s machine. This may include configuration files, history files, credentials, and more.
Tip
Backing up /root may trigger audit logs in hardened systems. On CTF platforms like HTB, this is unlikely to matter.
| |
To recover files from a snapshot, use the following command (replace <SNAPSHOT-ID> with the actual ID from the previous step):
| |
This will create a directory structure inside ./restore, containing the full contents of the backed-up /root directory.
If you recovered an SSH private key, you can try to connect back to the machine directly
| |
| |
Conclusion
In this challenge, we exploited a vulnerability in TensorFlow model loading, which allowed remote code execution. This initial access provided us with a low-privileged shell on the system.
Further enumeration revealed a PostgreSQL database containing hashed credentials. After cracking the hash for the gael user, we gained SSH access. Searching through user files uncovered a backup containing a plaintext root password, reused from an earlier stage.
Using this password, we successfully escalated privileges to the root user.
This machine highlights several common security issues:
- Unsafe handling of third-party model imports
- Poor password management practices, including reuse and storage in plaintext.
- Inadequate access controls and monitoring.
Overall, the box demonstrates how small oversights can be chained together for full system compromise.
 kofi
kofi